


3D animation is everywhere. In comparison to 2D, it’s versatile in delivering imagery that’s highly realistic and detailed. However, depending on the scale of the project, the process can often be time consuming, and demands specialist skill and technical know-how.
If you’ve considered investing in 3D animation within your marketing strategy, we discuss in this blog all the stages included in a 3D animation project. From concept to final delivery, we cover each important step but don’t worry, we’ll keep the jargon and the technicalities to a minimum!
The planning part
This is probably the most crucial starting point, and that may seem obvious, but with 3D animation it’s crucial to ensuring your message and visuals make a real impact. A simple change or tweak to the animation can add a large portion of time to your project lead time if it’s already been rendered – not to mention it can potentially ruin the flow of the animation as a whole.
Just to highlight how much rendering can alter final delivery, a frame of animation at a 1080p resolution can take between 30 seconds to 3 minutes to render. One minute of an animation could take 60 hours to render based on the file being roughly 1800 frames. This is why it’s important to get the brief and storyboard right from the start.
When planning your 3D production, at Kensa we always with a script. The concept for your aniamtion might not be a storied piece of content in the traditional sense, but don’t be fooled into believing a script isn’t needed. Even an informative product piece will benefit from a script to define how the animations will visually aid the key messages frame by frame. Scripts equally enable frames to be assigned with a visual to match each line, identifying potential looks for the style and finishes required to get the desired final outcome.
After the messaging, tone of voice and script are confirmed, we move into storyboarding. If there’s one thing our animators universally understand, it’s visuals. Getting the visual queues around each key scene can really help map out the tools and timeframes needed to successfully achieve a client’s vision.
For more story driven animations featuring characters and fictional elements (where the elements don’t necessarily have a reference), concept art and storyboards ensure that our team, and the client, knows exactly how the fictitious elements should look.
The geometry bit
Once all the planned elements are approved, it’s time to start the fun bit; lifting the storyboard off the page and making it a reality – well, a virtual reality that is. This is the bit where we start to model all the assets required for your animation. There’s a lot that has to go into this process. Creating a 3D shape involves creating individual polygon shapes that come together using vertices to form your model. Vertices in simple terms are the points on your model where shapes can be moved in a 3D space to alter, smooth out and mould the overall shape of your model.
Once we’ve finalised your shape it’s time to add textures and shaders. Texturing involves adding 2D imagery to your polygons to give it detail, whilst shaders will dictate how the shape reacts to light. When your shape is fully animated and in motion, this really helps to create further realism.
Rigging and animating
Rigging is effectively the structure that enables your shape to move. Think of it like a human’s joints and bones. In fact, if you were creating an animated character, you would very much map your model to a rig that would allow you to animate each of the characters‘ limbs. Mastering this process takes time, but knowing how to do it can accelerate the quality and depth of your animation. Take a look at this example below:
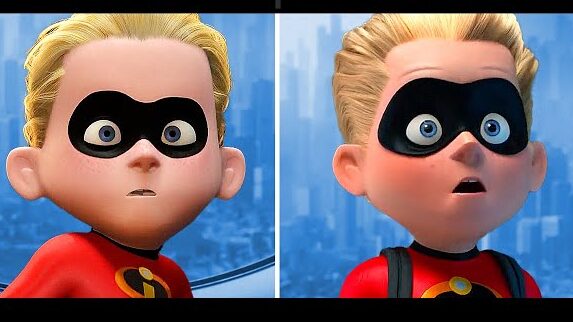
The left is Dash character is as he appeared in the first Incredibles, and the right is as he appeared in the sequel. Both models are making a similar facial expression, but you’ll notice the model on the right is far more expressive. This is because the model on the right has a more complex rigging structure, allowing more elements of Dash’s face to be moved.
Once your model’s all rigged up, it’s finally time to animate (we told you it was quite a rigorous process). We set key frames and move your shape in the desired fashion by moving the ‘joints’ of your rig to define how it moves and interacts with other environmental elements in your scene. Your storyboard should be the ruleset here so that the animation is completed in line with your brief.
Rendering and compositing
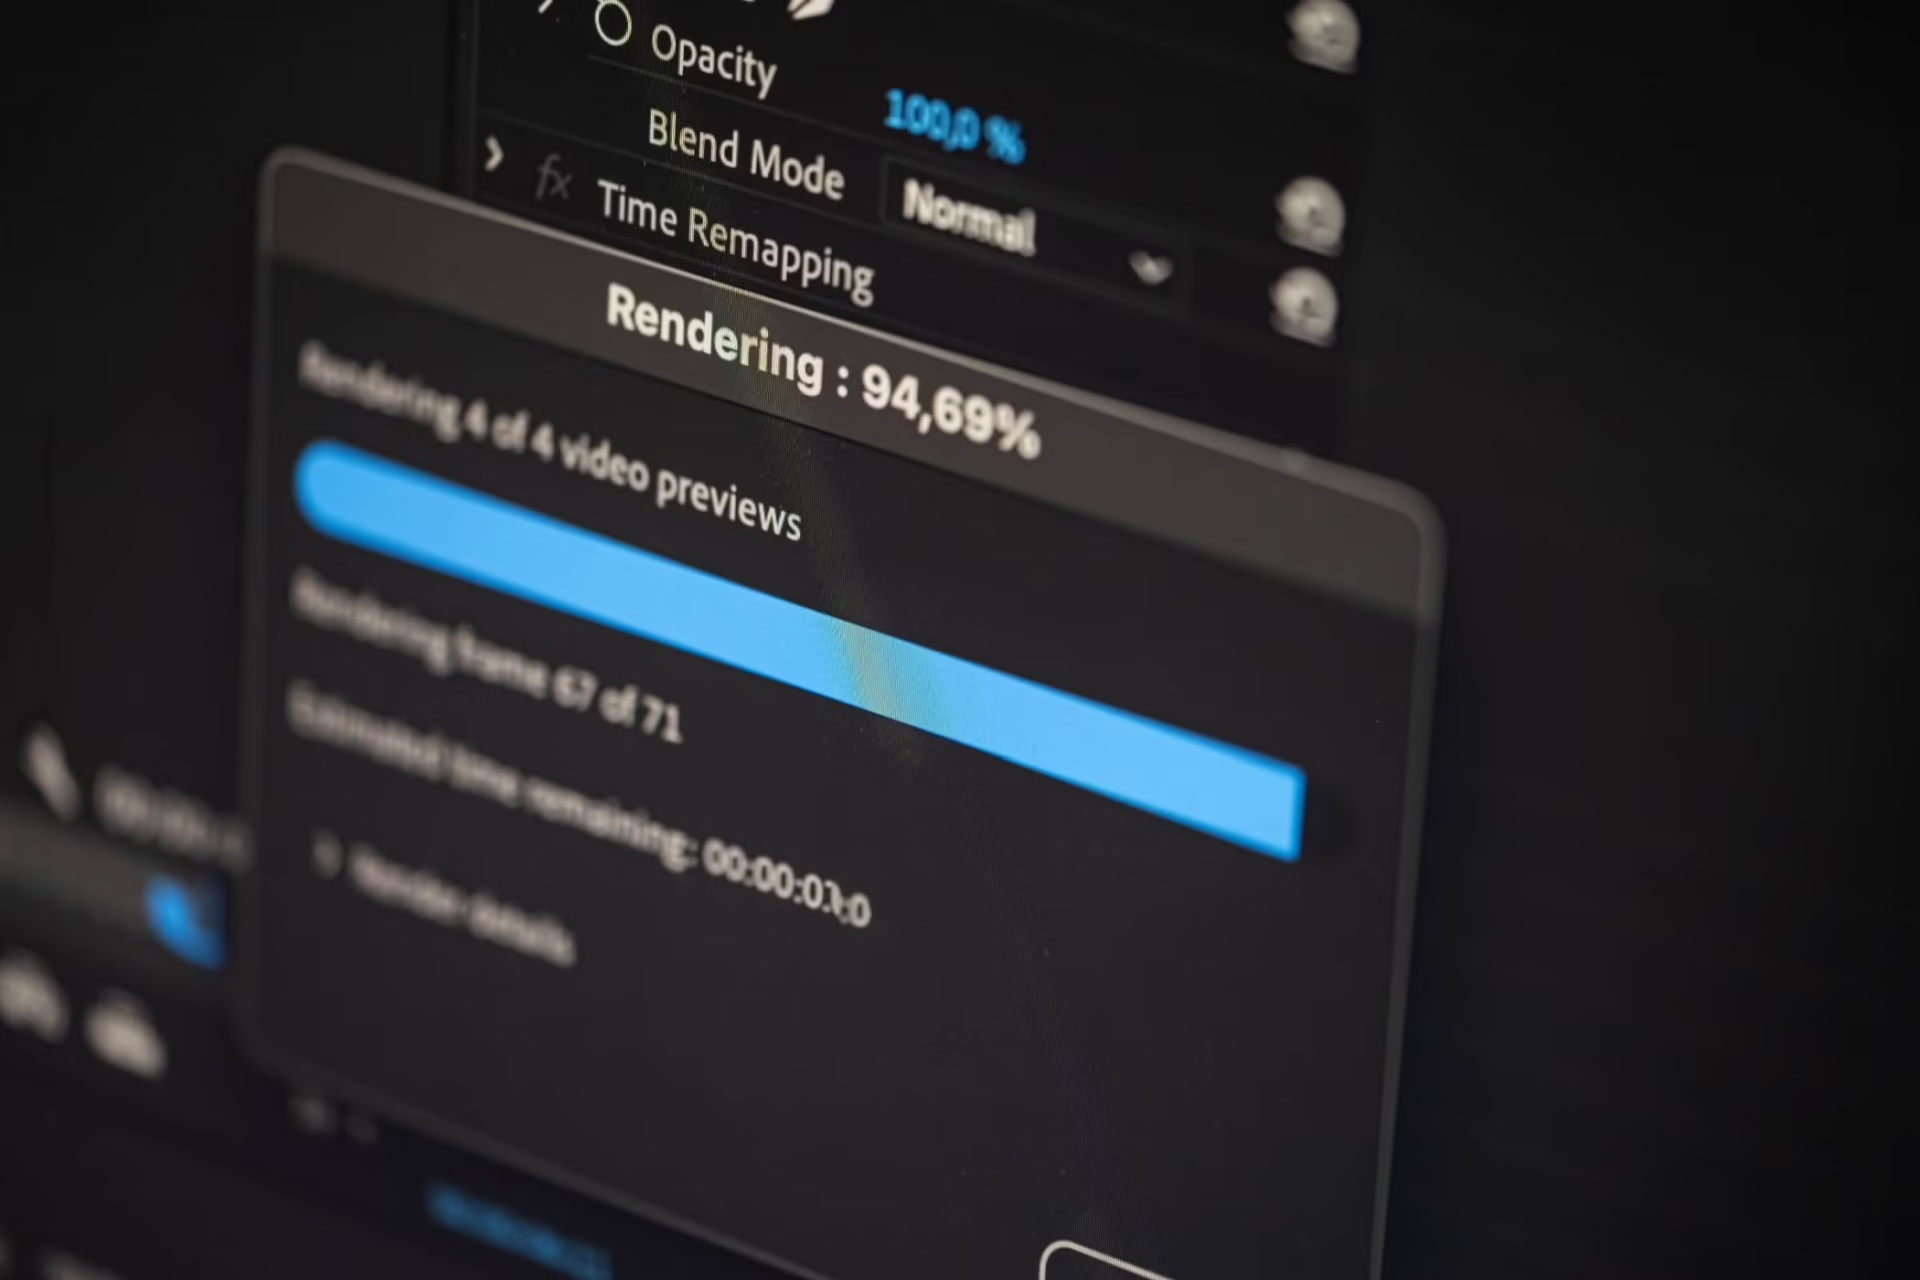
The bane of an animator’s life…rendering. This in simple terms is the time consuming process of effectively stitching your whole animation together in an entire sequence. Depending on the complexity of your animation and models (and the processing power of your computer), this can take minutes, hours or potentially days.
We discussed before how re-rendering can cause massive delays if a client raises an issue, or a change with your animation. A tool we use is LookDev, this allows us to apply materials to the objects to make the raw models and animations appear more closely to what they would look like after rendering – without implementing the rendering process. This doesn’t replace the rendering process of course, this is still needed eventually, but this allows us to send clients a complete, yet non-rendered model for review. Any minor detail tweaks can be edited prior to rendering, reducing the impact on completion.
Once rendered we can add further visual effects through compositing and effects like motion blur, and colour grading. Basically, complete slight tweaks to ensure the final piece is slick, on brand and to your brief.
This is a very basic outline of the 3D animation process we complete for projects but hopefully this showcases just how intricate the process can be! Ready to start your animation project with us? Get in touch with us to discuss.